Onboarding Home Assistant
After Home Assistant has been installed on your device, there are 5 steps to complete setting up Home Assistant.
-
Enter the following URL into the browser’s address bar: http://homeassistant.local:8123/.
- Result: You now see the Preparing Home Assistant page. Depending on your hardware and internet connection, preparation may take a while.
- Home Assistant downloads the latest version of Home Assistant CoreHome Assistant Core is the Python program at the heart of Home Assistant. It is part of all installation types. It can be installed standalone (without Home Assistant Supervisor) as a container using Docker (this is typically referred to as the Home Assistant Container installation type). For development, Core can also be run using a Virtual Environment (previously referred as the Home Assistant Core installation type). For production setup, the Home Assistant Core installation type is deprecated. (about 700 MB).
- If you ran into issues with this step, refer to the installation troubleshooting.
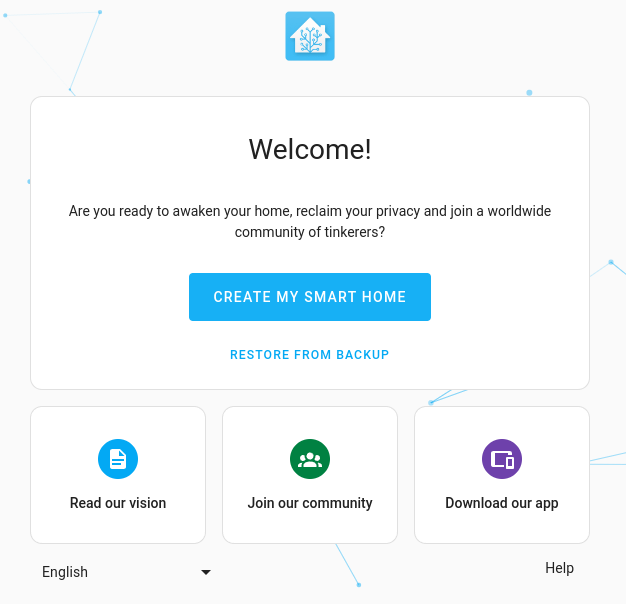
- Once preparation is finished, the welcome screen is shown.
- Result: You now see the Preparing Home Assistant page. Depending on your hardware and internet connection, preparation may take a while.
-
You can either create a new installation or recover an existing installation from a backup:
-
Option 1: new installation: If this is your initial installation, we will now create the owner’s account of Home Assistant.
-
This account is an administrator account. It will always be able to change everything. -
Select Create my smart home.
-
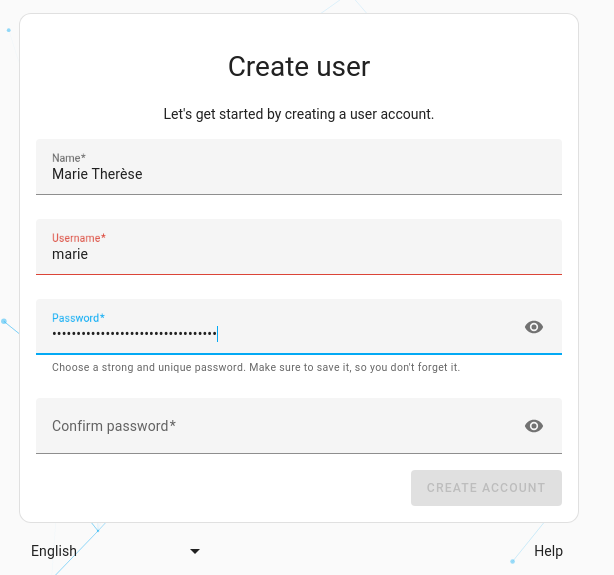
Enter a name, username, and password.
- Make sure the username is lowercase and contains no whitespace.
-
Info: The Name is the name of the person that is shown in the UI. The username is used for login.
-
Store the name, username, and password somewhere safe. There is no way to recover the owner credentials.
-
Select Create account.
-
-
Option 2: restore from backup: If you want to restore a backup of a previous installation, follow the steps on restoring from backup.
- If you have a Home Assistant Yellow, follow the Yellow documentation on restoring from backup.
- If you have a Home Assistant Green, follow the Green documentation on restoring from backup.
-
-
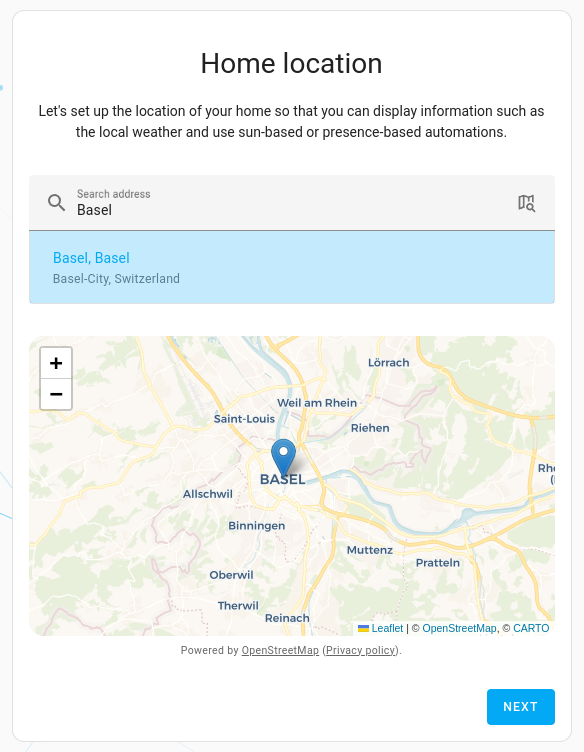
Enter the location of your home.
- The home location is used to configure the time zone, unit system, and currency.
- It is also used to create the home zone, which designates the area of your home with a default radius of 100 m.
- You can always change this information later in the settings.
- This home zone can be used for automations such as showing the weather, opening the shades at sunrise, or starting the vacuum when you leave the home.
- After finding your location, select Next.
-
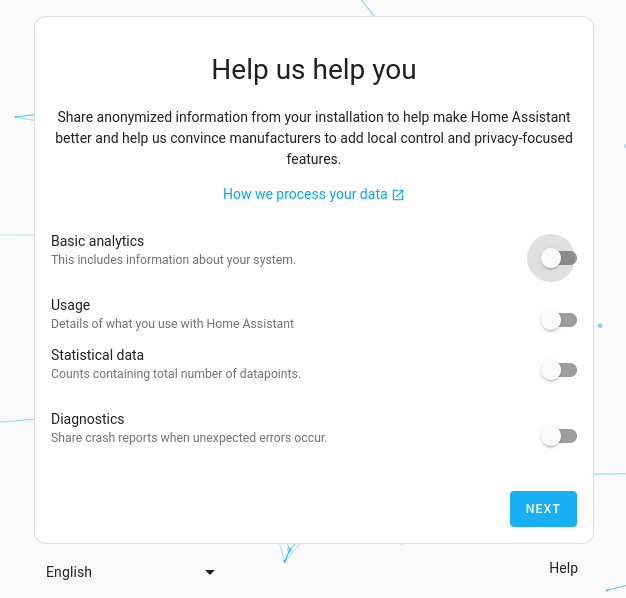
Select which information you are willing to share.
- Sharing is disabled by default. However, we would like to encourage you to share some of this data.
- This information helps us find out which platforms we need to support and where to focus our efforts.
- The data is anonymized and aggregated. To see the charts we generate out of this data, take a look at our analytics page.
- To confirm, select Next.
-
You’ve now got Home Assistant up and running. - Press Finish and you now see the default dashboard.