Shark IQ
The Shark IQ integrationIntegrations connect and integrate Home Assistant with your devices, services, and more. [Learn more] allows you to control your Shark IQ
Configuration
To add the Shark IQ integration to your Home Assistant instance, use this My button:
If the above My button doesn’t work, you can also perform the following steps manually:
-
Browse to your Home Assistant instance.
-
In the bottom right corner, select the
Add Integration button. -
From the list, select Shark IQ.
-
Follow the instructions on screen to complete the setup.
Actions
Currently supported vacuum actions are:
startpausestopreturn_to_baselocateset_fan_speed
Room Targeting
In addition to the vacuum actions, this integration supports room targeting.
This allows you to select specific rooms that you want cleaned, instead of doing a whole-home clean.
action: sharkiq.clean_room
data:
  rooms:
    - "Entry"
    - "Living Room"
target:
  entity_id: vacuum.my_vacuum
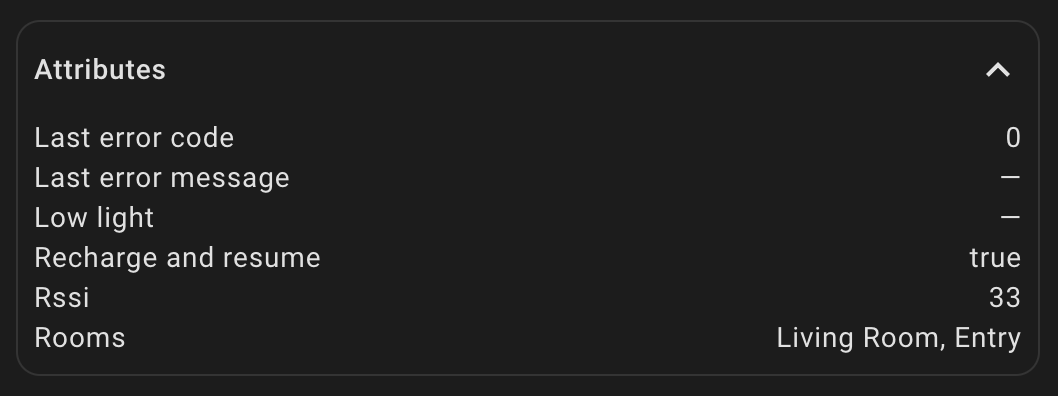
Important Note: The list of rooms must be written exactly as they appear in the Shark Clean app. If you want exact names that the action will understand,
look for the Rooms attribute of your Shark Robot Vacuum in Home Assistant. This will be populated with the rooms that the robot has configured, as they will be
understood by the action.
If you want to use the area selector in the action’s UI, you need to format the area names exactly as they appear in the vacuum’s Rooms attribute. You may also check the attribute using Home Assistant’s Developer Tools.

Troubleshooting
Integration Disconnecting
If the integration frequently disconnects and you have an ad blocker runner like Pi-holeads-field.aylanetworks.com to the Allow list . This domain is needed for the connection and can be part of the automatic blocking because of ads being part of the subdomain.
If pause does not work for you, then it is not supported by your vacuum. The stop action will provide similar functionality.