Working with tables
Many pages under Settings show their items in a table, such as your devices, entities, automations, and helpers. Depending on the table, you can search, filter, group, sort, select several items at once, and choose which columns to show.
If you have organized your items into floors, areas, labels, or categories, you can use those to filter and group the table.
Selecting multiple items in a table
Selecting multiple items lets you change them all at the same time, instead of one by one.
-
Above the table, select the
Enter selection mode button. 
-
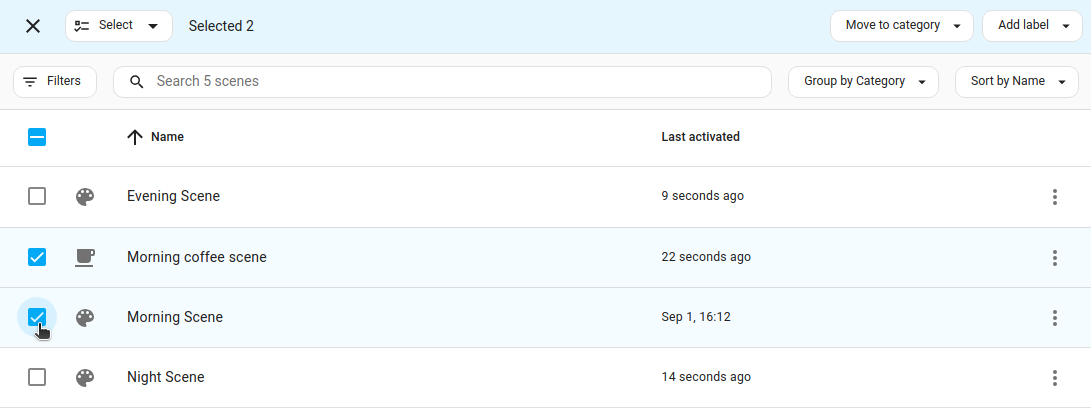
Select the items you want to change. To select everything at once, open the selection menu and choose Select all.
-
Apply your change to all selected items, such as adding labels or enabling or disabling entities and automations.
Filtering items in a table
Filters narrow the table down, so you only see the items that match.
-
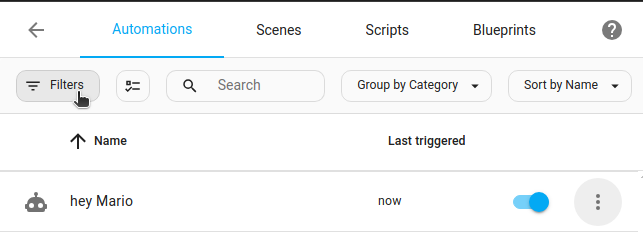
Above the table, select Filters.
-
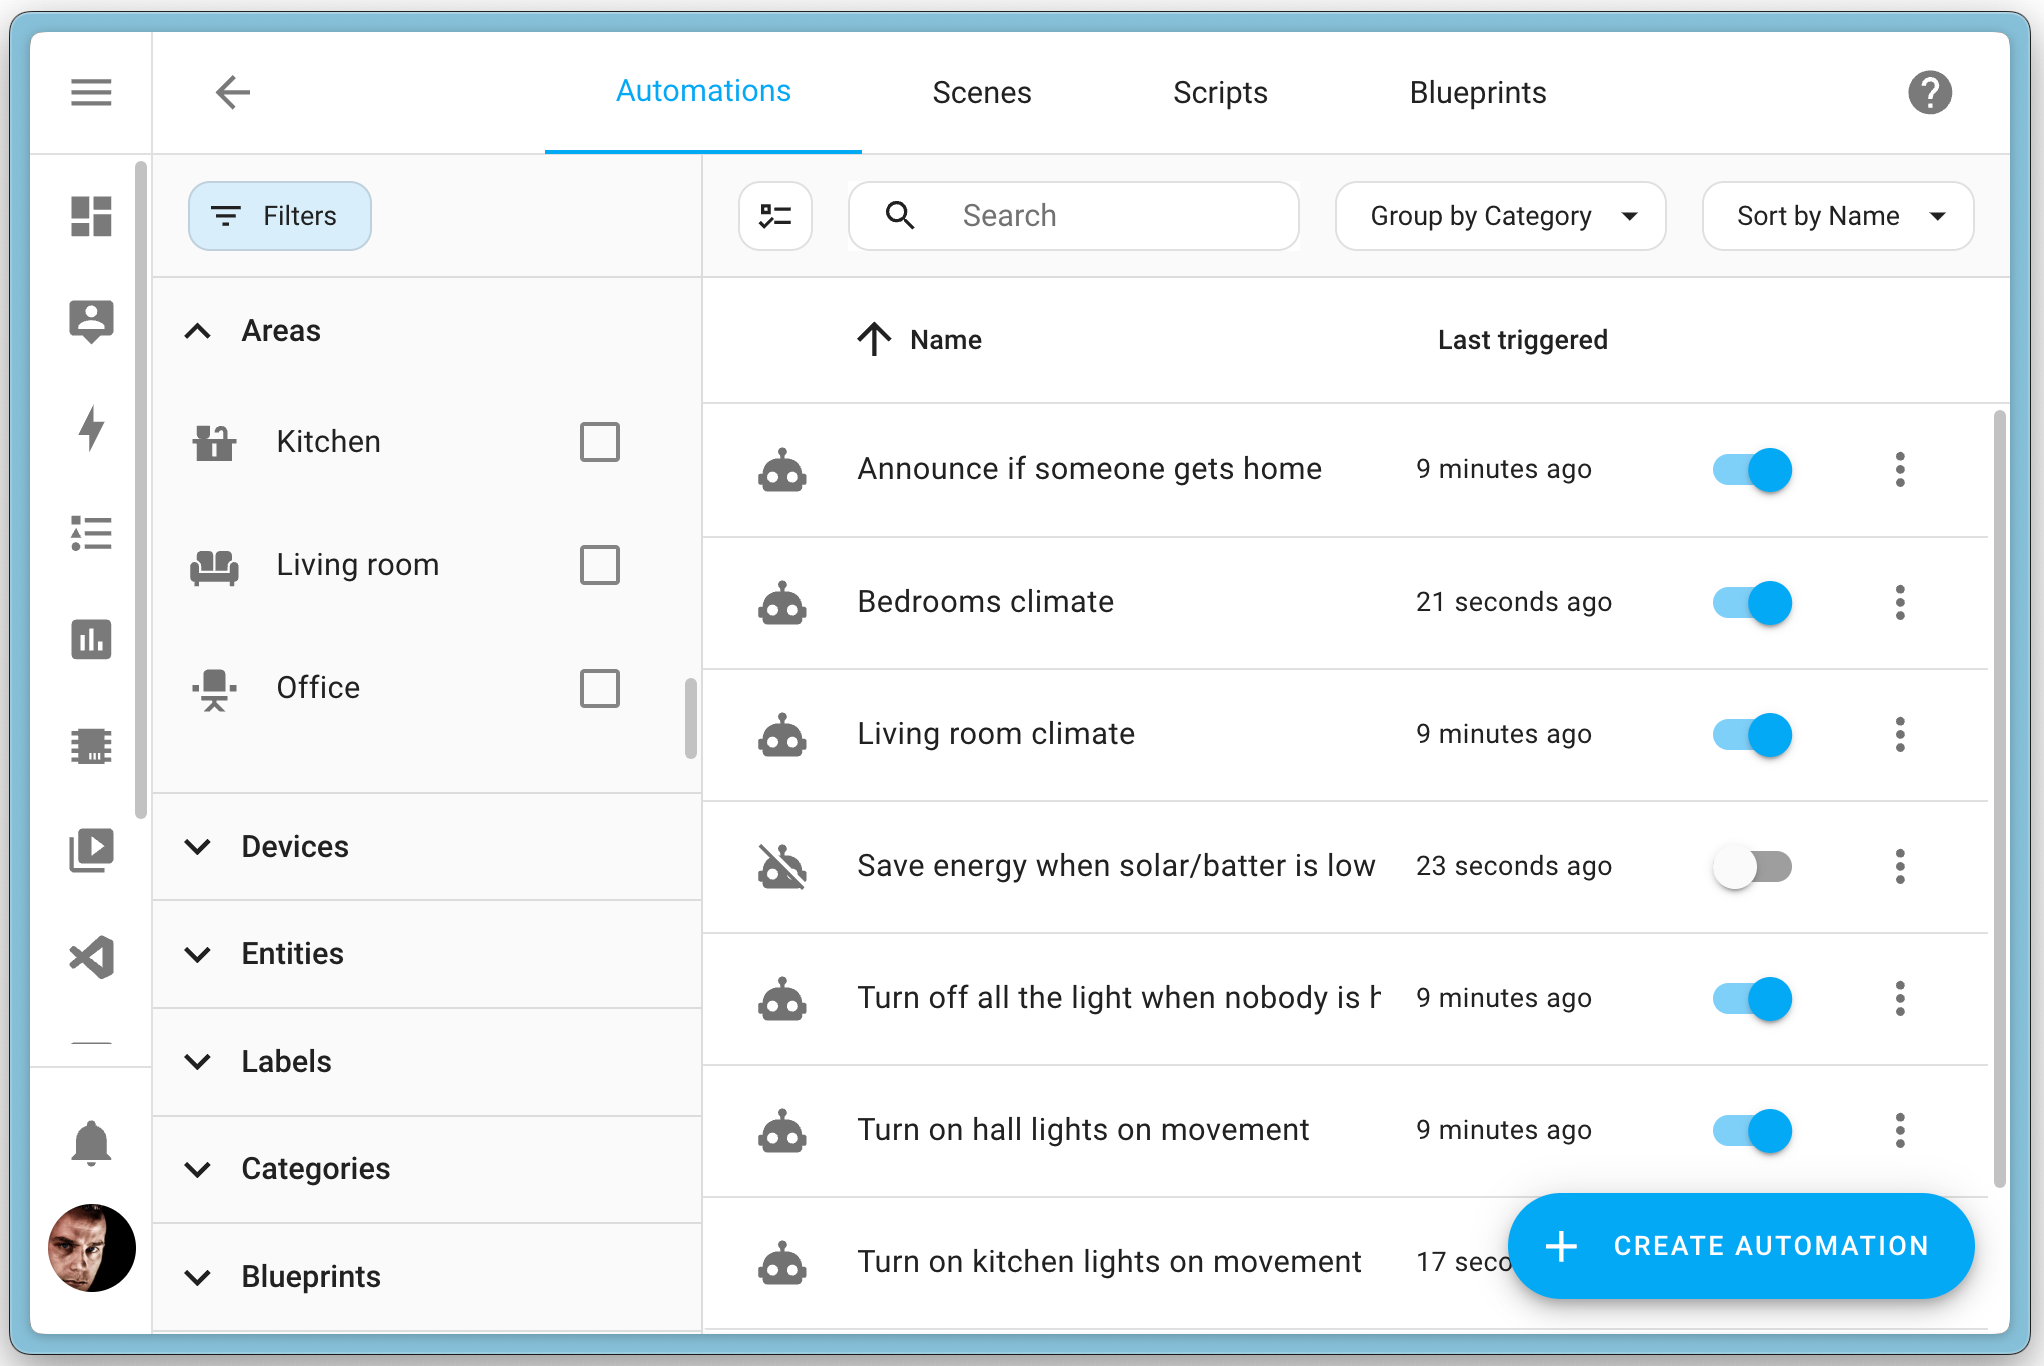
In the filters panel, choose what you want to see.
- Which filters are available depends on the table. For example, you can filter by floors, areas, labels, and categories once you have created them.
- To remove a filter, select Clear filter.
Grouping and sorting items in a table
Grouping puts related items together under a shared heading. Unlike filtering, it doesn’t hide anything: all items stay in the table.
-
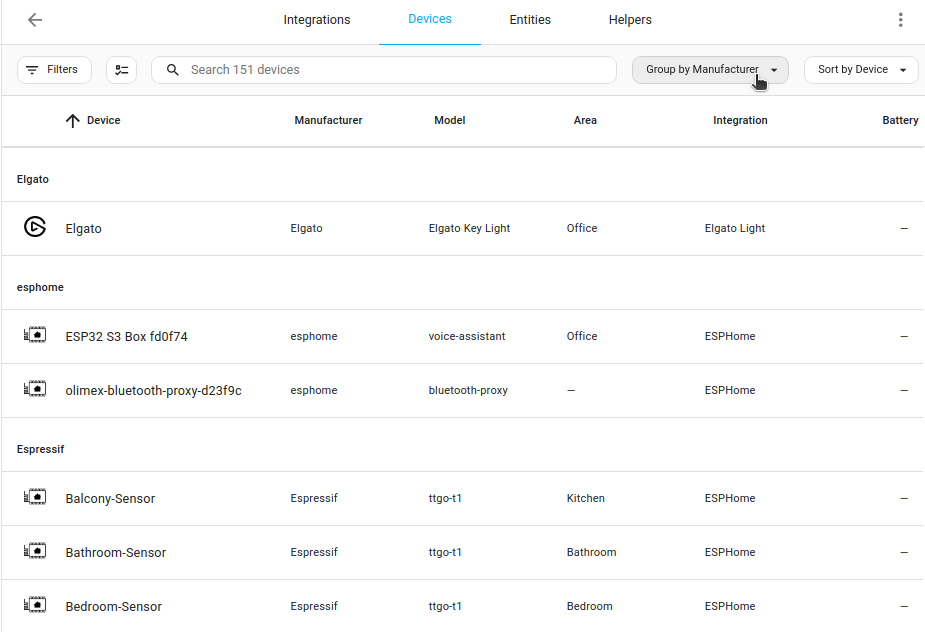
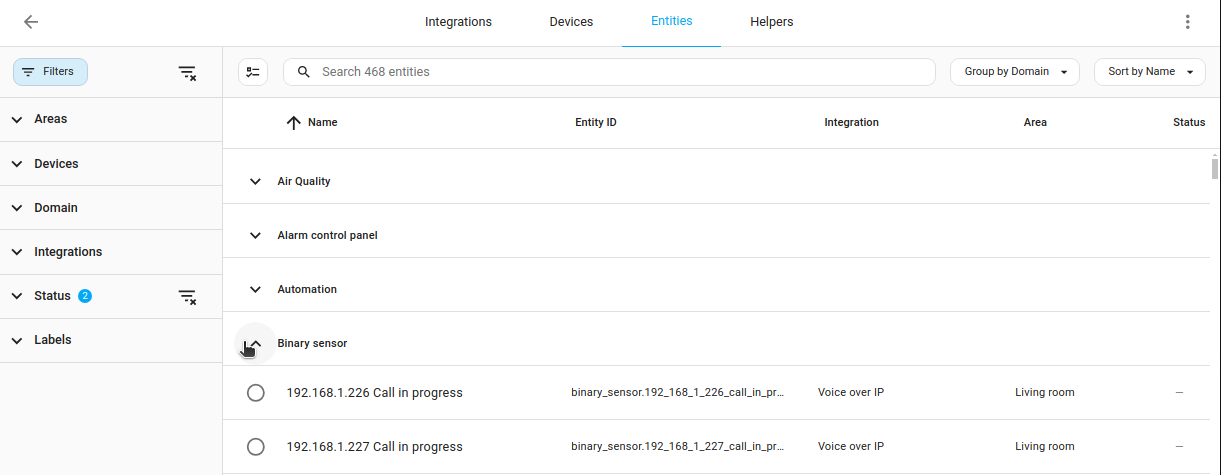
Above the table, select Group by and choose how to group the items.
- Which options are available depends on the table. For example, you can group devices by manufacturer, and entities by domain.
- To go back to a flat list, choose Don’t group.
-
To collapse or expand groups, select a group heading. To do this for all groups at once, use Collapse all or Expand all in the Group by menu.
-
To sort the items, select Sort by and choose a column. You can also select a column header to sort by that column. Select it again to reverse the order.
Customizing columns
You can choose which columns a table shows, and in which order.
-
Above the table, select the
Customize table button. -
To hide or show a column, select the
or icon next to it. -
To change the order, drag a column by its
handle to a new position. -
To go back to the original layout, select Restore defaults.

Home Assistant remembers how you set up each table, including sorting, grouping, and columns. These settings are stored in your browser, so on another device or browser you start with the default layout.